

The Simple Assistant Maker (SAM) is a widget that makes it quick and easy to produce voice use cases that consist of a user request, assistant responses, and action execution.
For additional information on the use of SAM, you can also refer to the SAM tutorial available in the VDK Studio.
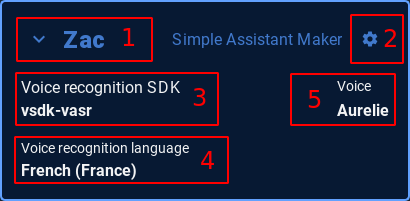
Simple Assistant Maker - Card
-
Assistant name.
-
Settings button. Open a window to customize the assistant.
-
The ASR SDK. Can be
vsdk-vasr,vsdk-csdkorvsdk-tnl. -
The ASR language.
-
The Voice name.
You cannot rename an assistant.
Simple Assistant Maker - Main screen
-
Creation area. This is where you will build your assistant.
-
Test area. This is where you will interact with your assistant.
-
Details area. This is where you can see your assistant’s properties and modify them.
-
Content area. This is where you will specify your assistant’s behavior.
-
Table operation area. This is where you can apply operations on your table’s content such as delete, import or export selected rows.
-
Table columns button. This is where you can select which column of your table to hide/show.
-
Create assistant button. This is the button to use to build your assistant once you’re done with its content.
-
Microphone button. This button will allow you, once you’ve created your assistant, to interact and test it.
-
Show logs button. Once you’ve started your assistant, you can see its detailed logs by clicking this button.
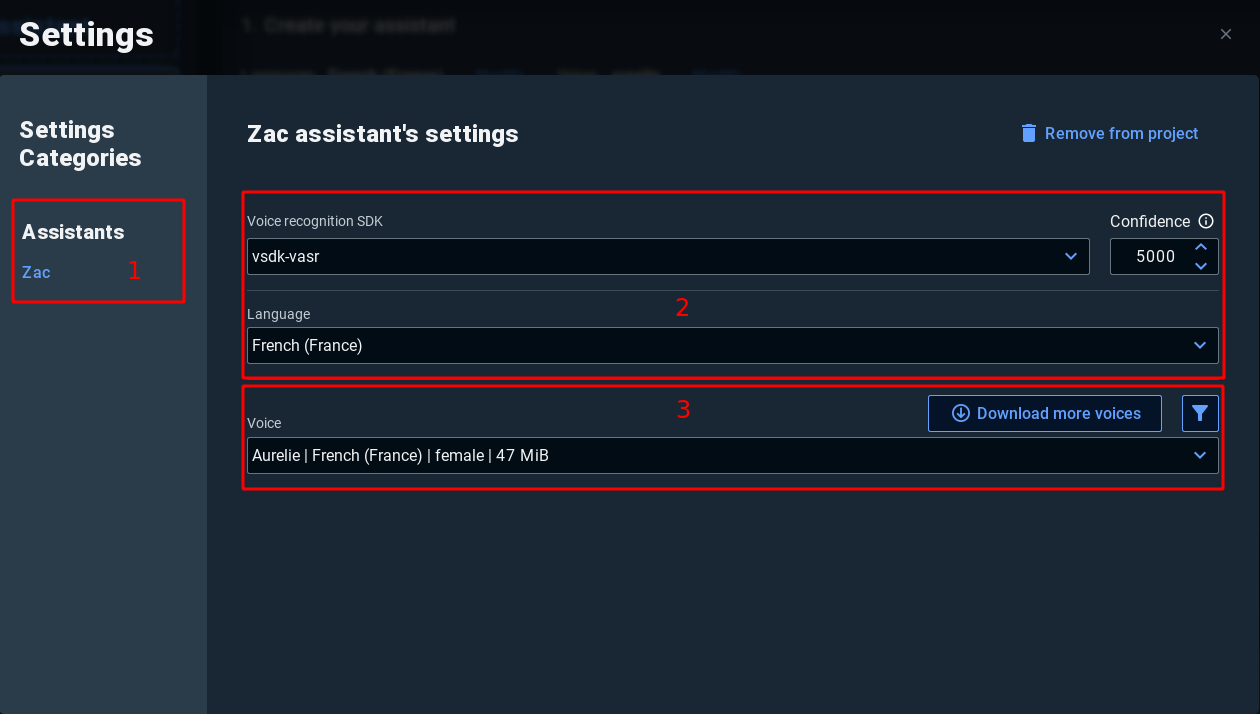
Simple Assistant Maker - Settings
-
Assistants. The list of available assistants in your project. Select an assistant to modify it.
-
Recognition Settings.
-
Voice recognition SDK: 3 different SDKs (
vsdk-vasr,vsdk-csdkandvsdk-tnl) are available depending on your needs. -
Language: Select here the language for your project.
-
Confidence: This section will only be shown if you have
vsdk-vasrorvsdk-csdkas SDK. You can set the confidence threshold between 1000 and 10000.-
Set to 1000 = less restrictive in the result interpretation.
-
Set to 10000 = more restrictive in the result interpretation.
-
-
-
Voice. You can select here the voice you want to use for your assistant.
The displayed list will depend on which voices you have downloaded on VDK Studio and which filters you have set up on your “Voice Settings”.
Customize your assistant
You can change your assistant's property by clicking the modify button.
If you want another voice for your assistant, you can find some to download in the resources view.
The voice’s language does not have to match to recognition's language.
Create your entries
To specify the behavior of your assistant (what he will be able to recognize and say), add entries to your table.
If you don't see the last three columns (tag/action/post action output), you can add them to the table by clicking the button above the table, on the right. Every checkbox checked will make the corresponding column appear or disappear if unchecked.
Input
This is where you can write what words or group of words will be recognized by the assistant.
Output (optional)
You can write here what the assistant will answer when the corresponding input will be recognized.
Tag (optional)
This column is useful for mobile development.
It will allow you to link a word or group of word to what the assistant recognizes so you don't have to parse the recognized input.
You will be able to use this in the given handler function.
Action (optional)
To execute any real life actions, you can specify the path to one of your script that will be executed while the Speech text will be said by the assistant.
Post action output (optional)
If you want your assistant to tell you when it has finished executing the associated action, you can write something in here. An action is necessary if you write something in this cell !
Create your assistant
Once your assistant is all set, you simply need to press the Create assistant button.
When the creation is finished, you will see the message The assistant has been created next to the button, or a popup will appear with an error message on failure.
If you've changed your inputs, a grammar needs to be compiled and a network access is required. Also depending on the SDK, this step can take up to several seconds.
Test your assistant
You should now be able to press the microphone button to start and test your assistant.
Once started, you can talk freely.
Whenever a sentence is recognized, the corresponding row will be highlighted for a short moment and corresponding data will appear on the right hand side.
You can see the log output of your assistant by clicking the Show logs button.