

Grammar base recognition is a technology used to create reliable voice commands. Closely related to Free Speech, it takes the solution further with specific intent comprehension thanks to a grammar-based design.
For additional information on the use of Grammar Editor, you can also refer to the Grammar Editor tutorial available on VDK Studio.
Main screen
-
Model details. This is an information panel. You can collapse it by clicking on the title area or directly through the arrow icon on the top-left corner. Modification of displayed properties and some others is possible through the Modify button on the right, which will open the model settings dialog.
-
Tab bar. The Editor tab is always enabled. Other tabs get enabled either when supported by the current grammar, or after a successful compilation.
-
BNF Editor. This is where you write the actual BNF code.
-
Toolbar. This changes content depending on the currently selected tab.
-
Save button: Saves the text in the editor to disk.
-
Compile: Starts a compilation request of the BNF into a compiled model.
-
Next Step: When enabled, brings you to the next possible step of work by selecting the right tab view.
-
-
Test Controls. Your model must already be compiled to access this panel. The microphone button is enabled if a default microphone input that’s compatible with the voice recognition format is detected.
-
Test Results. Before anything is recognized, instructions or recognition events will display here. Once a result has been found, its confidence and best hypothesis are displayed instead.
Tick “Stop after first result” checkbox: The test stops after the first result.
Untick “Stop after first result” checkbox: Possibility of having several results in a row until manually stopped.
Dynamic Data screen
-
Slots data. Slots are BNF rules that are filled at runtime. Here you can provide content that will be used during testing through the previously shown test interface.
Settings screen
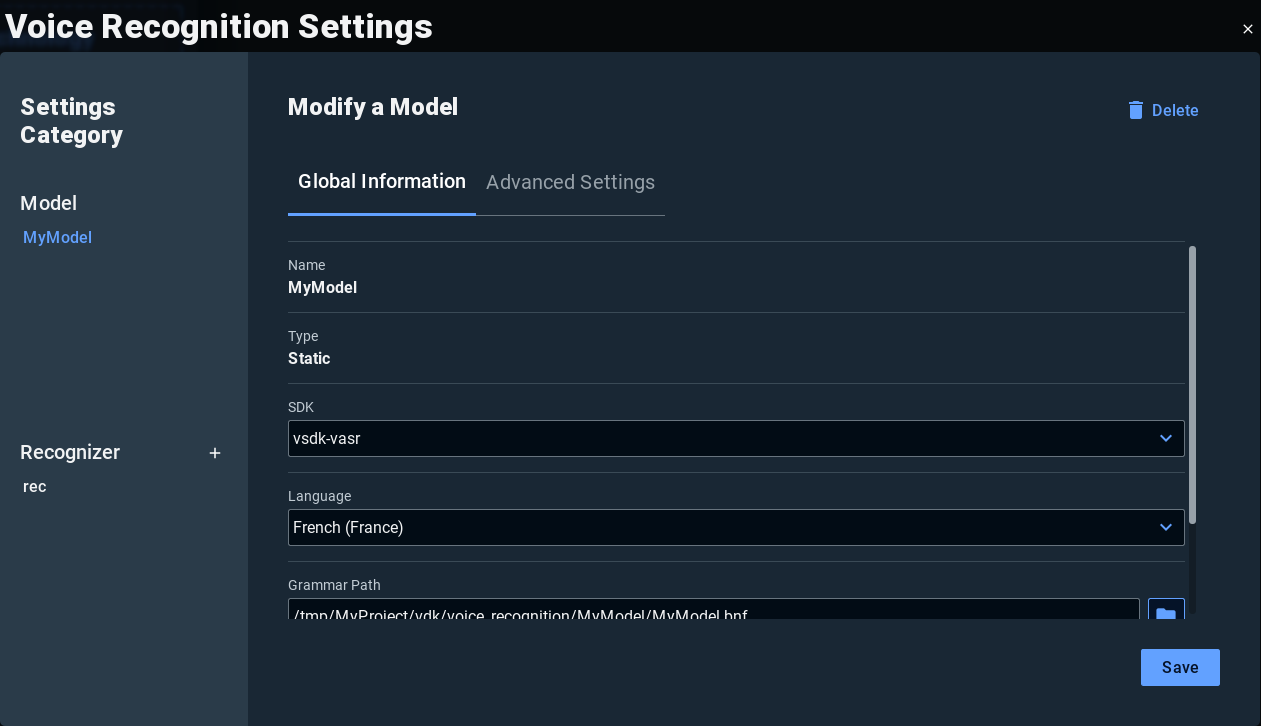
Models settings
-
Type. This is deduced automatically from your model.
-
Language. Select here the preferred language for your project.
-
SDK. The SDK that will be used for this model between
vsdk-vasr,vsdk-csdkandvsdk-tnl(depending on your model type and your license).
Recognizer settings
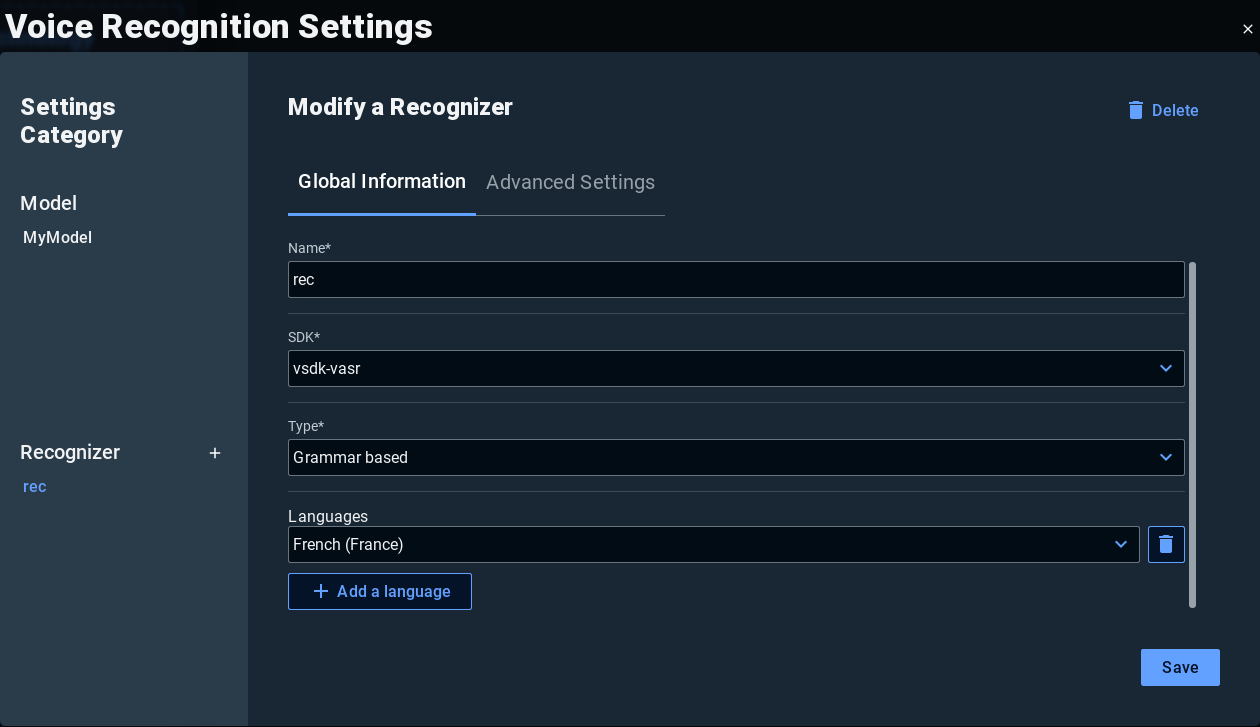
The recognizer’s settings will be generated automatically. You can update it if you want. It wont impact the Studio’s performance but it will change the recognizer generated in the configuration (vsdk.json).
-
Name. Select here the preferred language for your project.
-
SDK. The SDK that will be used for this model between
vsdk-vasr,vsdk-csdkandvsdk-tnl(depending on your model type and your license). -
Languages. Select the language used by the recognizer
Create a model
-
Go to the Playground.
-
In the voice recognition card, click on Add a model.
-
In the opened wizard with a choice, select grammar based and then New model.
-
You will next have to choose the name, the directory for your model and its language.
-
You finish by clicking on Add to project.
Not all SDKs support the same set of languages. The list of languages will change accordingly.
Create a correct grammar
A grammar can be a powerful tool for speech recognition but it can also be quite challenging to write at first. This is why we wrote the cheat sheet: How-to: Create your grammar to help you achieve your goals.
Compile and test
Click on the compile button to generate a binary version of your grammar.
Once the compilation is done you can click on the Quick testing button to try the grammar.
You can see the result by looking at the confidence and result labels.