

This tutorial will provide you with everything you need to install the data for a sample project.
The sample simple-application will be used during the explanation of this tutorial, but the workflow stays the same for any sample project.
It consists of two parts:
-
Some voice recognition to be able to detect some sentences
-
Some voice synthesis to be able to get audio feedback upon recognition
All samples always include the minimum necessary resources and configuration to run immediately.
Later in this tutorial, you will learn how to change provided resources and configuration with your desired ones, such as switch from one voice to another.
Setup
Usage
Everything should have terminated correctly by the end of those commands. You now have compiled your sample project !
You can run your application with the following command (from the build directory):
Once started, you should start seeing some logs of what is going on in your terminal.
Since this sample project uses voice recognition, you can find the set of possible recognized commands in the grammar file at:
-
On Linux:
<sample root directory>/data/ctx/drinks-number.bnf -
On Window:
<sample root directory>\data\ctx\drinks-number.bnf -
On Android:
<sample root directory>/app/src/main/assets/data/ctx/drinks-number.bnf
This grammar file follows the Backus Naur Form (bnf) and is explained in its own document called Grammar Formalism, but you can say for example sentences like:
-
I would like a coffee
-
I would like an orangina
-
Any number like 42
Once you say a sentence that gets recognized, the application will answer you with a sentence such as:
You just said <number> right ? or Gotcha, you want a <drink>, I knew it.
Customization
Now that you successfully spoke to your vocal assistant, you may want to change a thing or two, like for example, its voice.
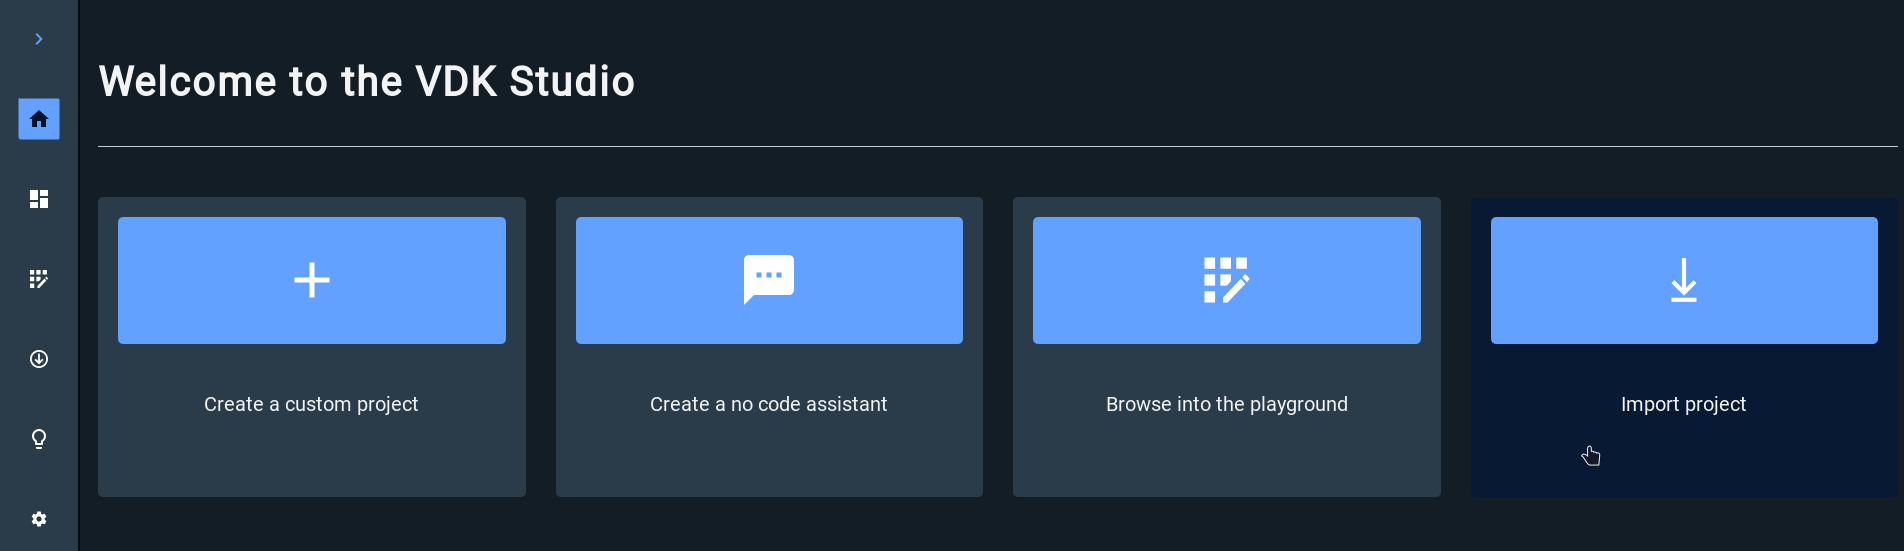
Thanks to the VDK Studio, you can easily change it. All you have to do is open the software and import a project by targeting the file project.vdk from your sample project:
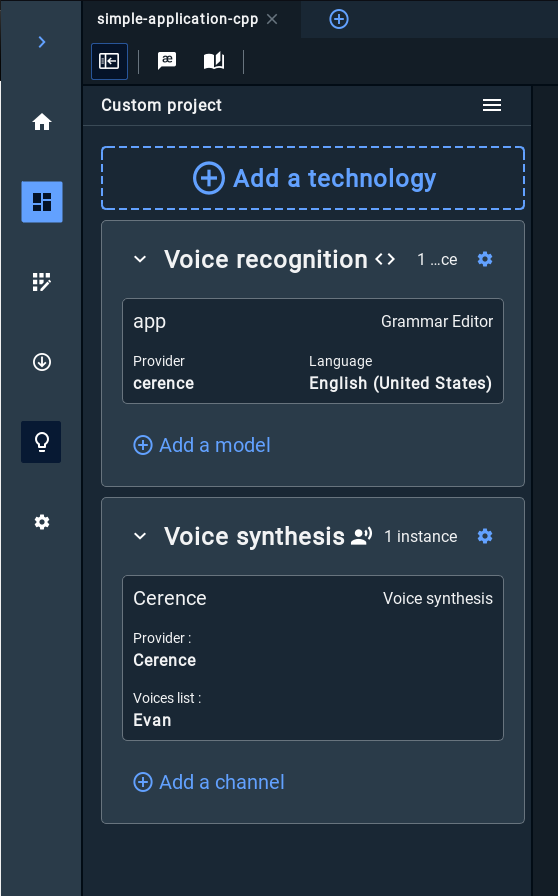
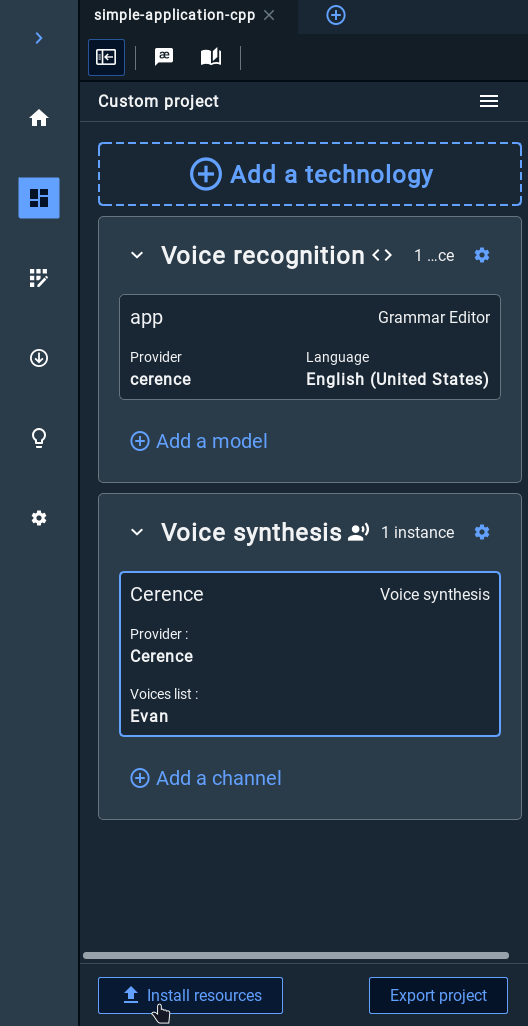
You should end up in the Workspace with both the voice recognition and voice synthesis technology bricks as such:
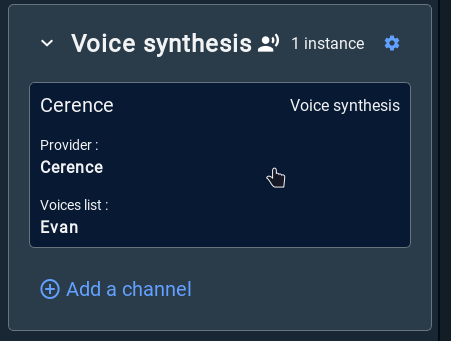
To change the voice used in your sample, click on the sub card of your voice synthesis brick:
The Voice synthesis widget is now opened:
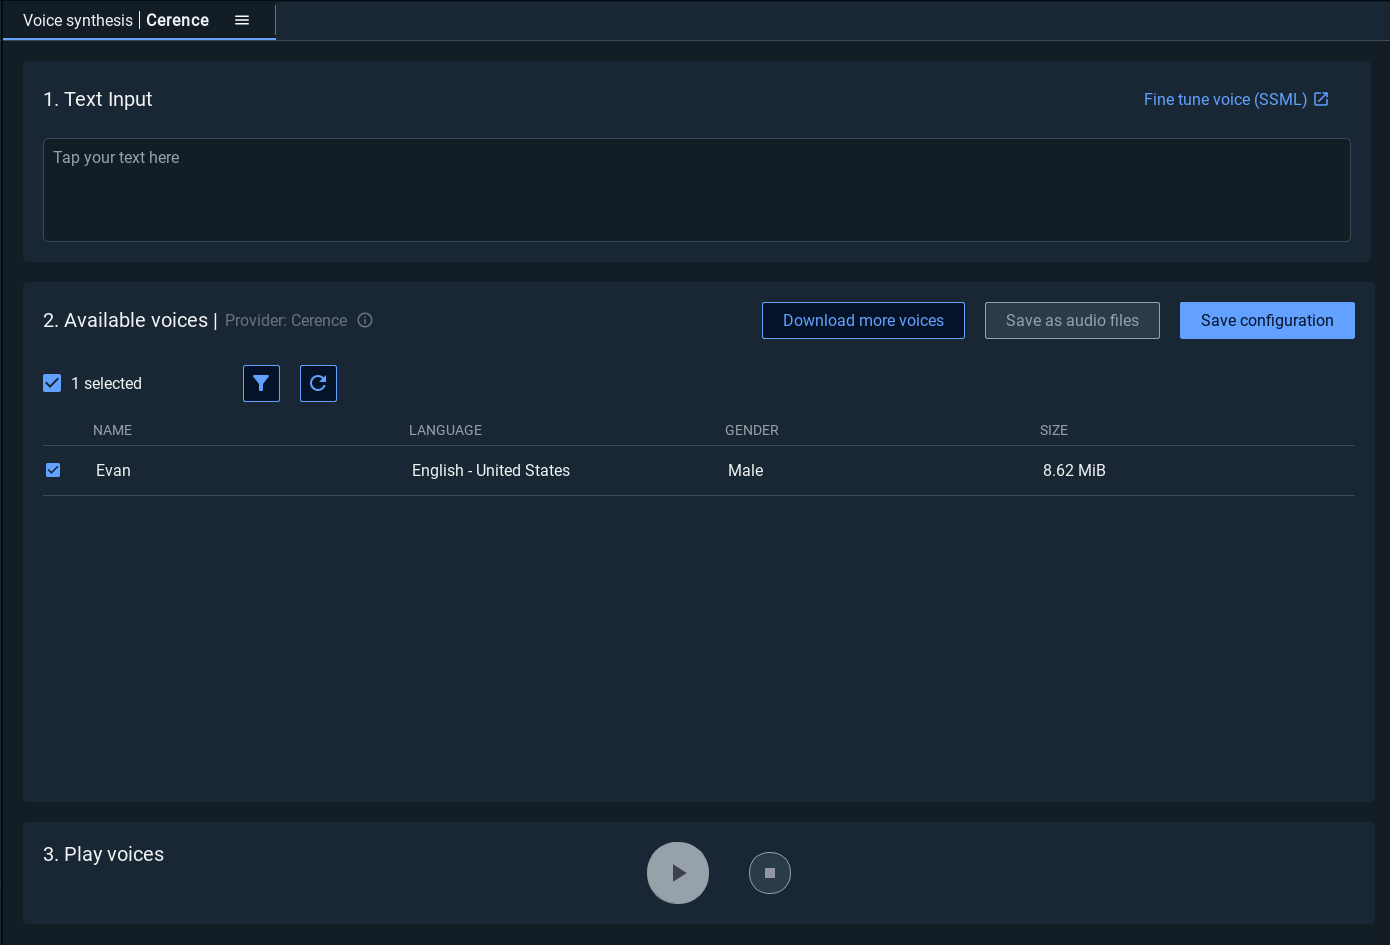
You can see available voices already installed by the VDK Studio.
If this is your first time using the software, it's likely that you don't have any voices yet.
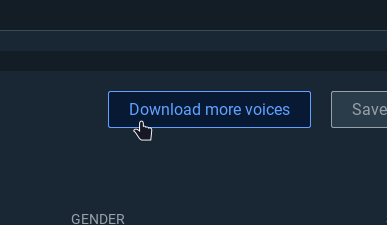
You can download voices by clicking the Download more voices button that will bring you in the Resources view in order to select the voices you want to try:
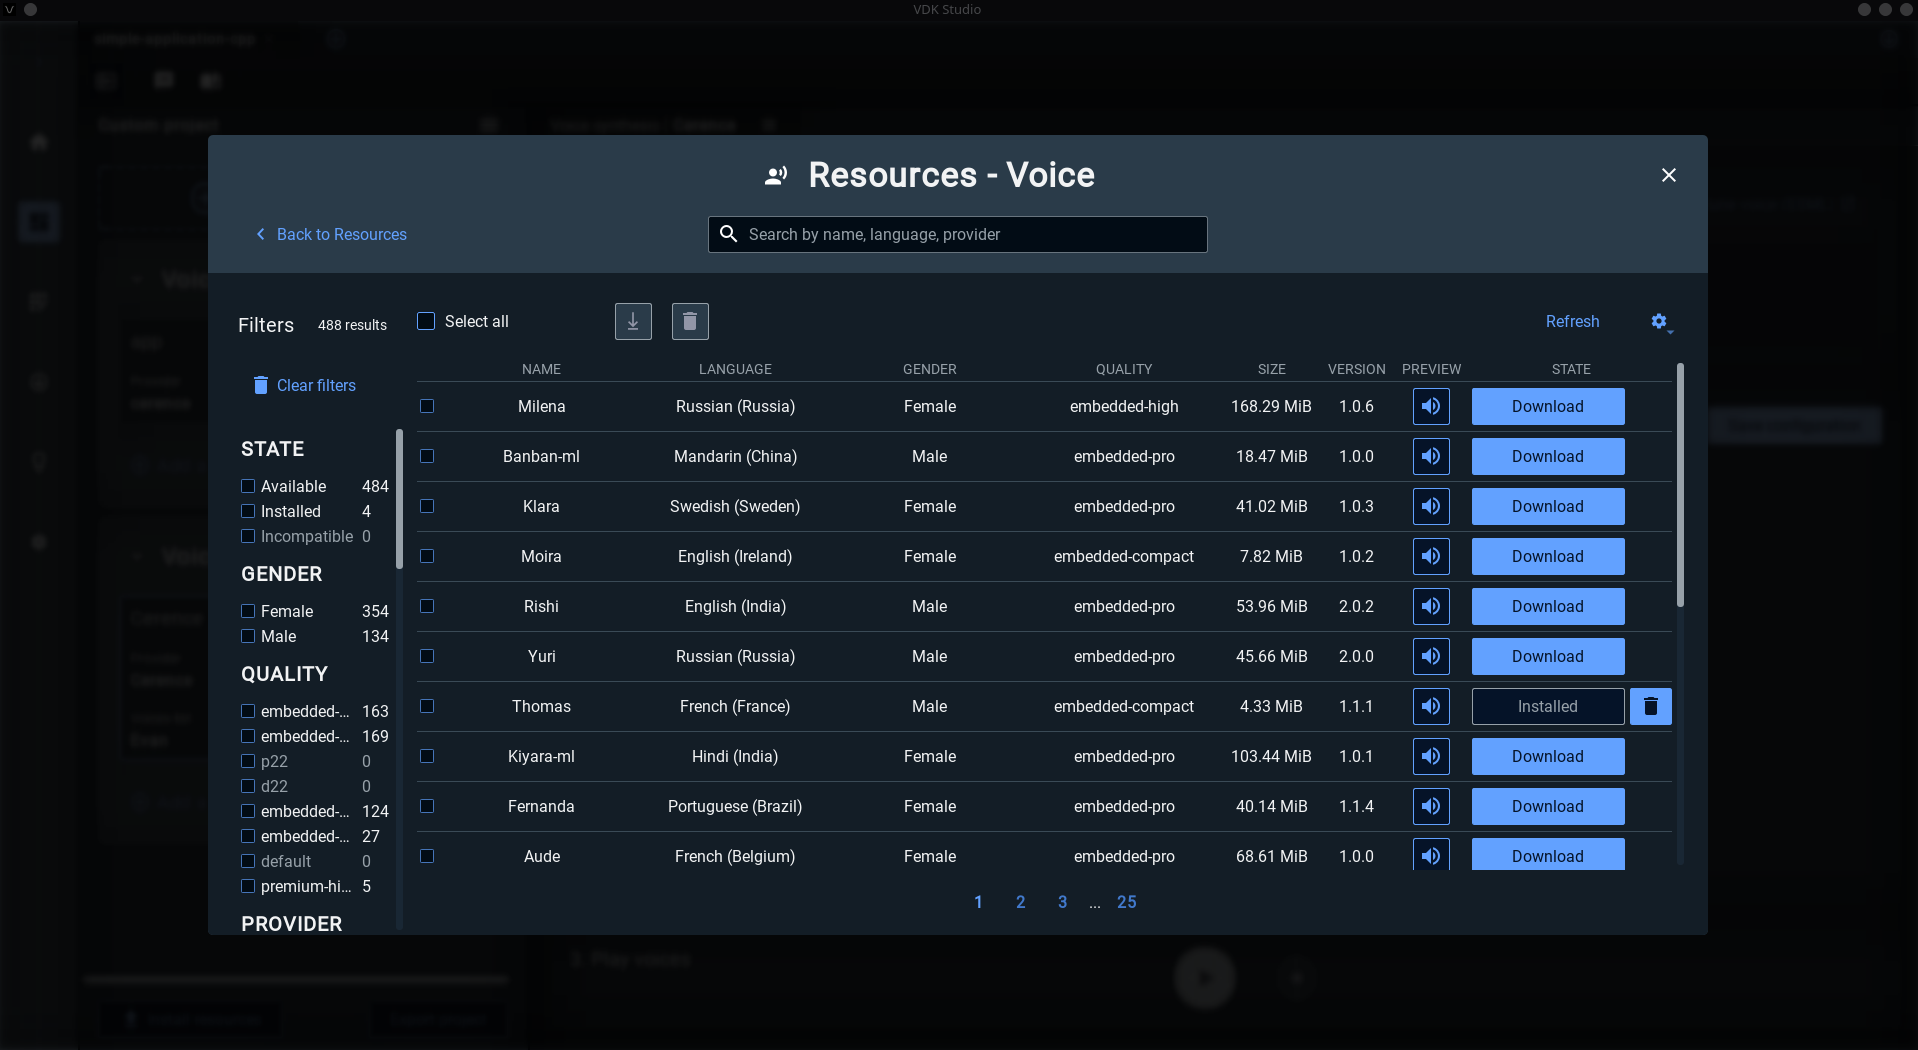
Once you have downloaded some voices, you will see them in the voice synthesis widget if they're from the Cerence provider (you can filter by provider in the resources view).
Check the voice(s) you want in the table and press the Save configuration button to apply your changes in your sample project.

Finally, you can now install your new resources in your sample project by clicking the Install resources button at the bottom of your project widget and follow the steps:
Once the installation is finished, you should be able to re run your sample project's binary and the voice will have become your new chosen one.